Created page. |
m Some corrections. |
||
| Line 6: | Line 6: | ||
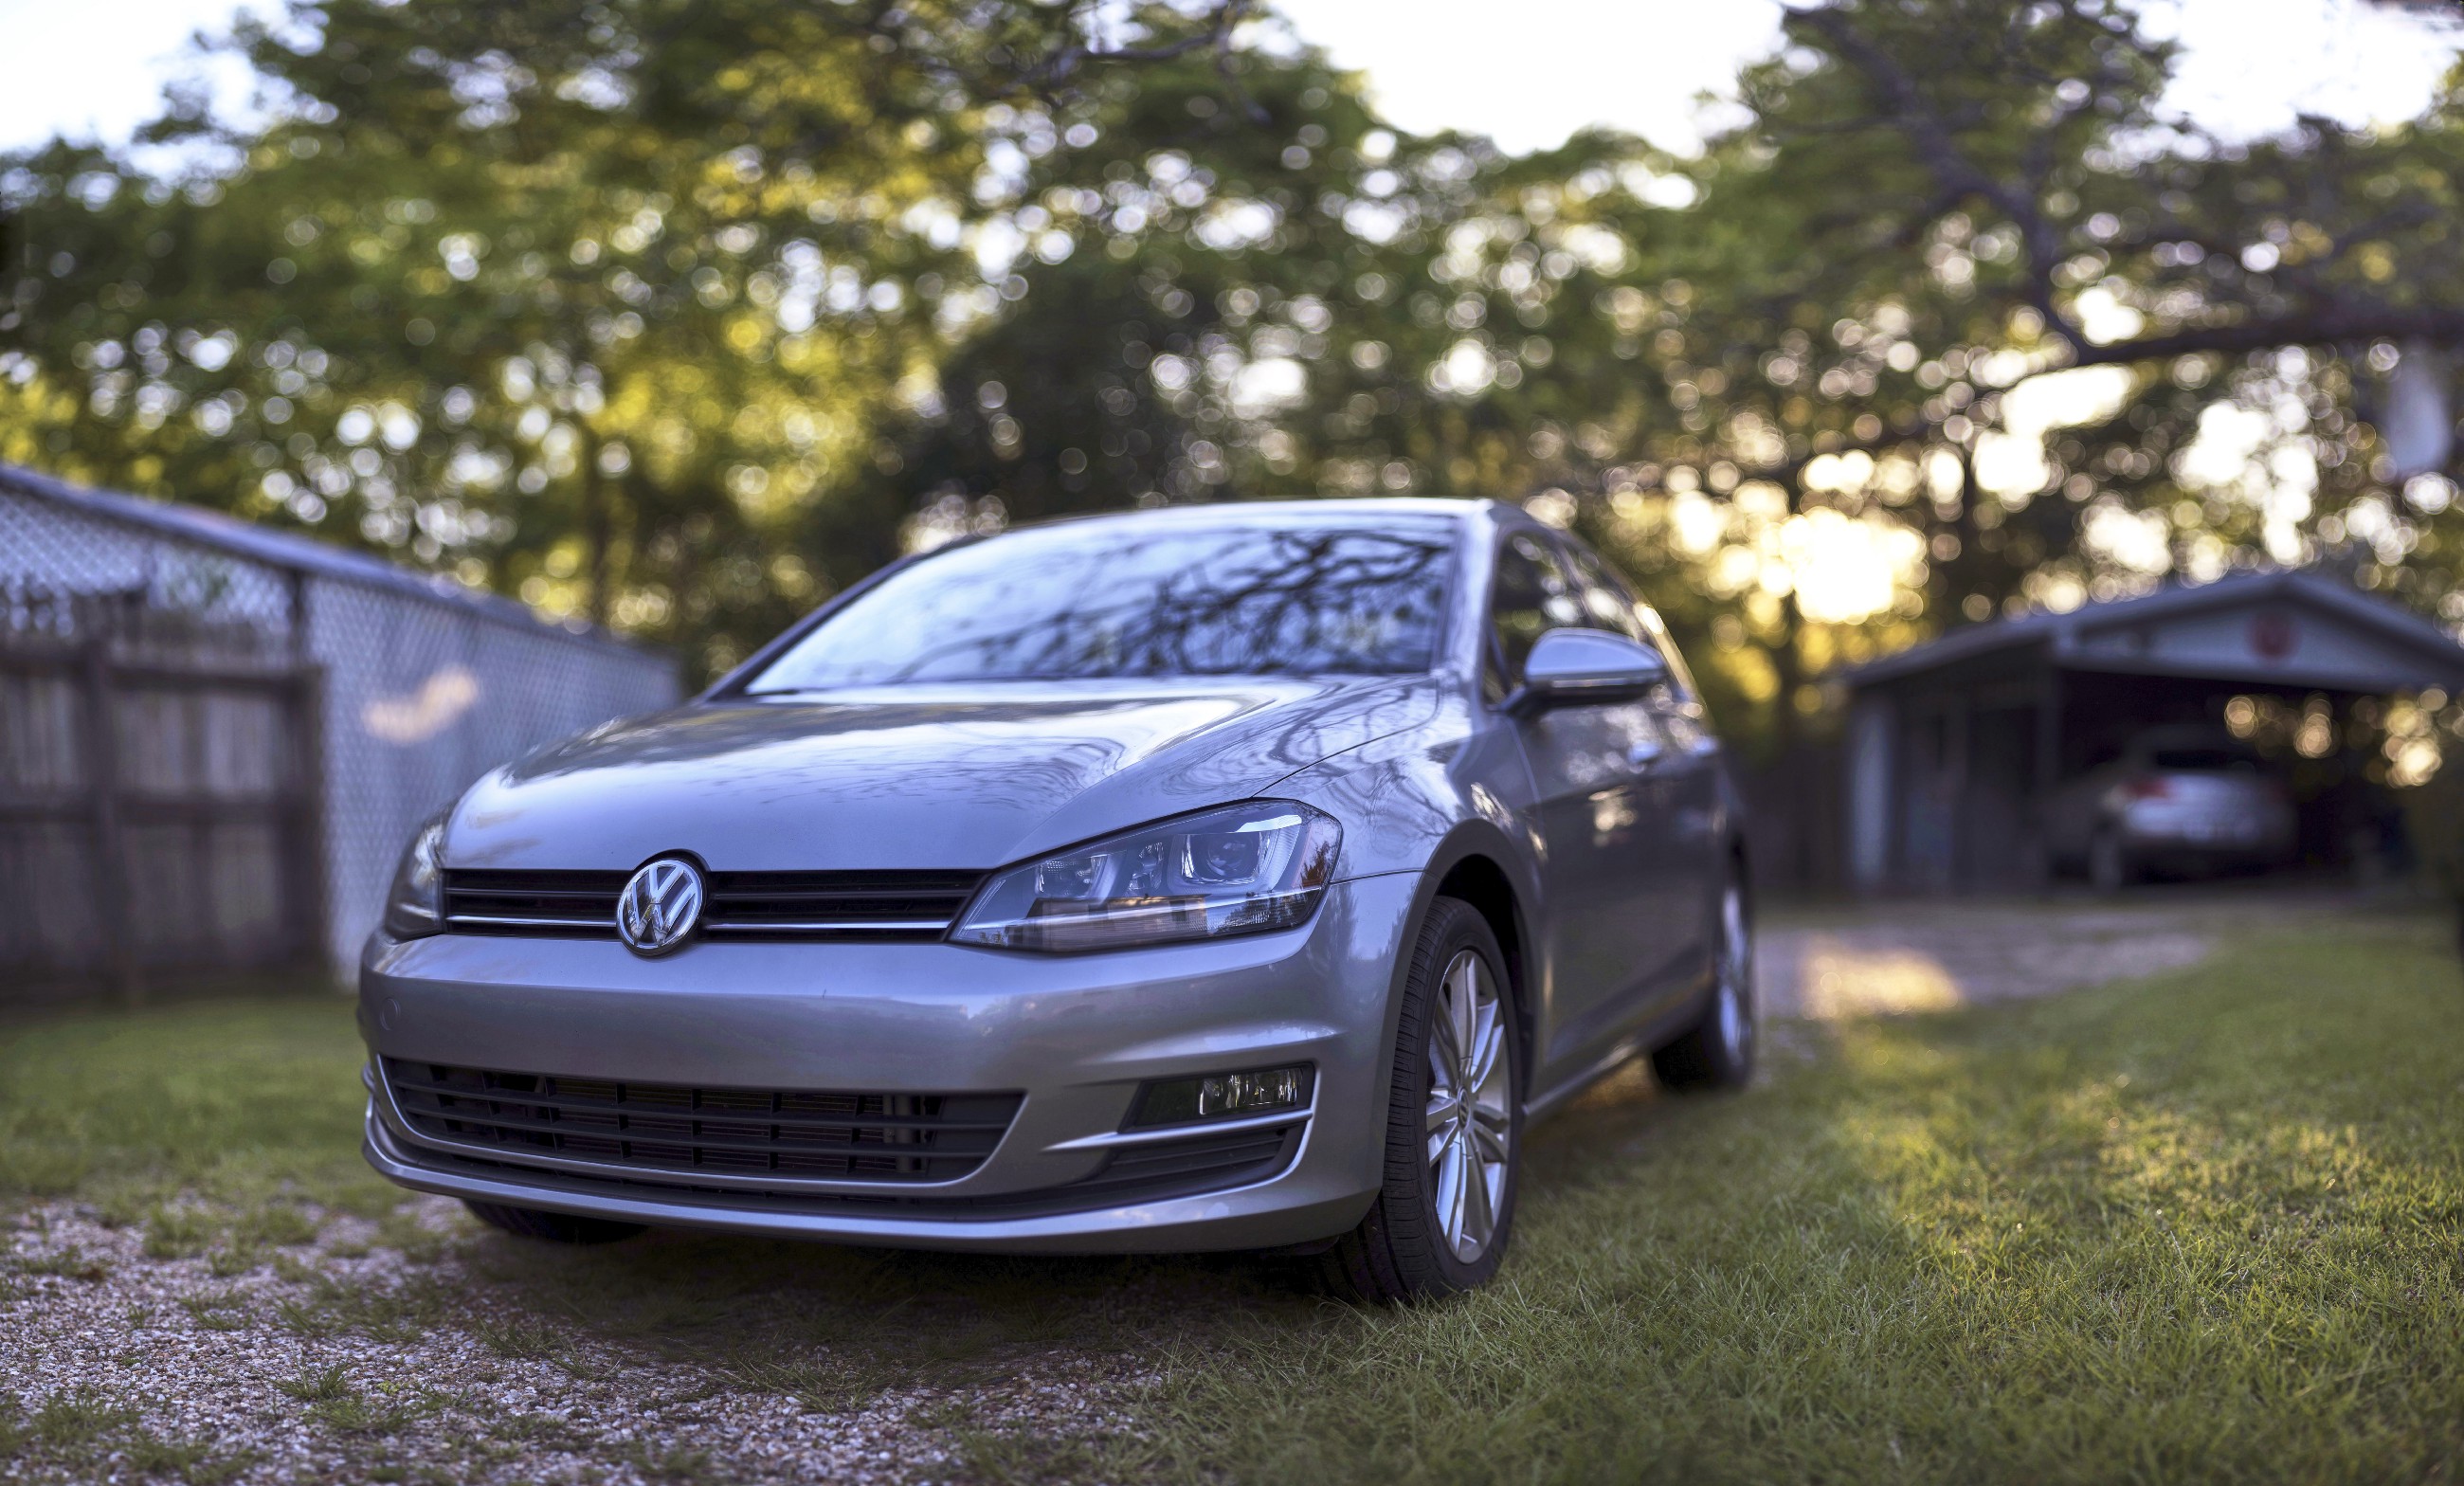
<div class="res-img">[[File:Bren-vw.jpeg]]</div> | <div class="res-img">[[File:Bren-vw.jpeg]]</div> | ||
Named for its inventor [http://www.thebrenizers.com/ Ryan | Named for its inventor [http://www.thebrenizers.com/ Ryan Brenizer], the Brenizer Method uses a longer, faster lens to create panoramas that emphasize the central subjects by surrounding them in a blurred background that’s impossible to achieve with a wide-angle lens. Essentially, bokeh panoramas mimic medium- and large-format cameras by letting the photog use less-expensive and less-bulky equipment to capture a scene with several photographs and stitch them together with software. It takes a lot of practice. | ||
{{Gallery | {{Gallery | ||
| Line 38: | Line 38: | ||
<div style="clear:both;"></div> | <div style="clear:both;"></div> | ||
I set everything to manual when shooting photos for this method: aperture, focus, ISO, white balance, and shutter. Once you set these, all images need to use the same settings, or the resulting pano will look terrible. Edd mentions that is you're shooting in RAW, white balance can remain on | I set everything to manual when shooting photos for this method: aperture, focus, ISO, white balance, and shutter. Once you set these, all images need to use the same settings, or the resulting pano will look terrible. Edd mentions that is you're shooting in RAW, white balance can remain on “auto.” He’s probably correct, but I have better luck choosing a setting. Sometimes I have had coloration issues - especially in the sky. | ||
{{Gallery | {{Gallery | ||
Revision as of 06:12, 12 December 2019
Chasing Big Bokeh
I admit it: I’ve been chasing bokeh for a long time. I’m not alone. Most photographers at one time or another are seduced by a sexy, fast lens mounted on a full-frame body and have spent hours capturing intimate details with our apertures wide open. Oh yeah. While many manage to get over it, others just hunt for new ways to satiate their cravings.
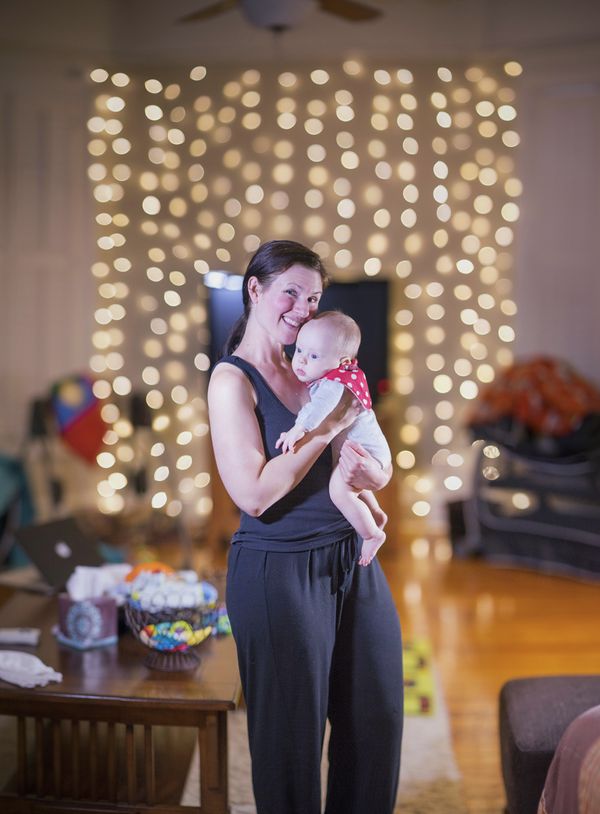
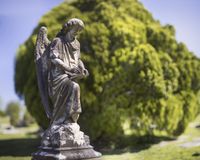
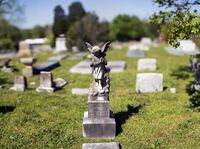
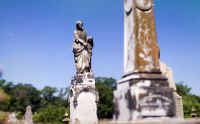
Named for its inventor Ryan Brenizer, the Brenizer Method uses a longer, faster lens to create panoramas that emphasize the central subjects by surrounding them in a blurred background that’s impossible to achieve with a wide-angle lens. Essentially, bokeh panoramas mimic medium- and large-format cameras by letting the photog use less-expensive and less-bulky equipment to capture a scene with several photographs and stitch them together with software. It takes a lot of practice.
I’ve Googled the method and have read several tutorials, like this one from Flickr user Edd Noble. Edd has even answered a few questions from me directly and was a general inspiration for me in adopting and trying this method; another one to look at is Steven Hight. Both of these guys do great and compelling work.
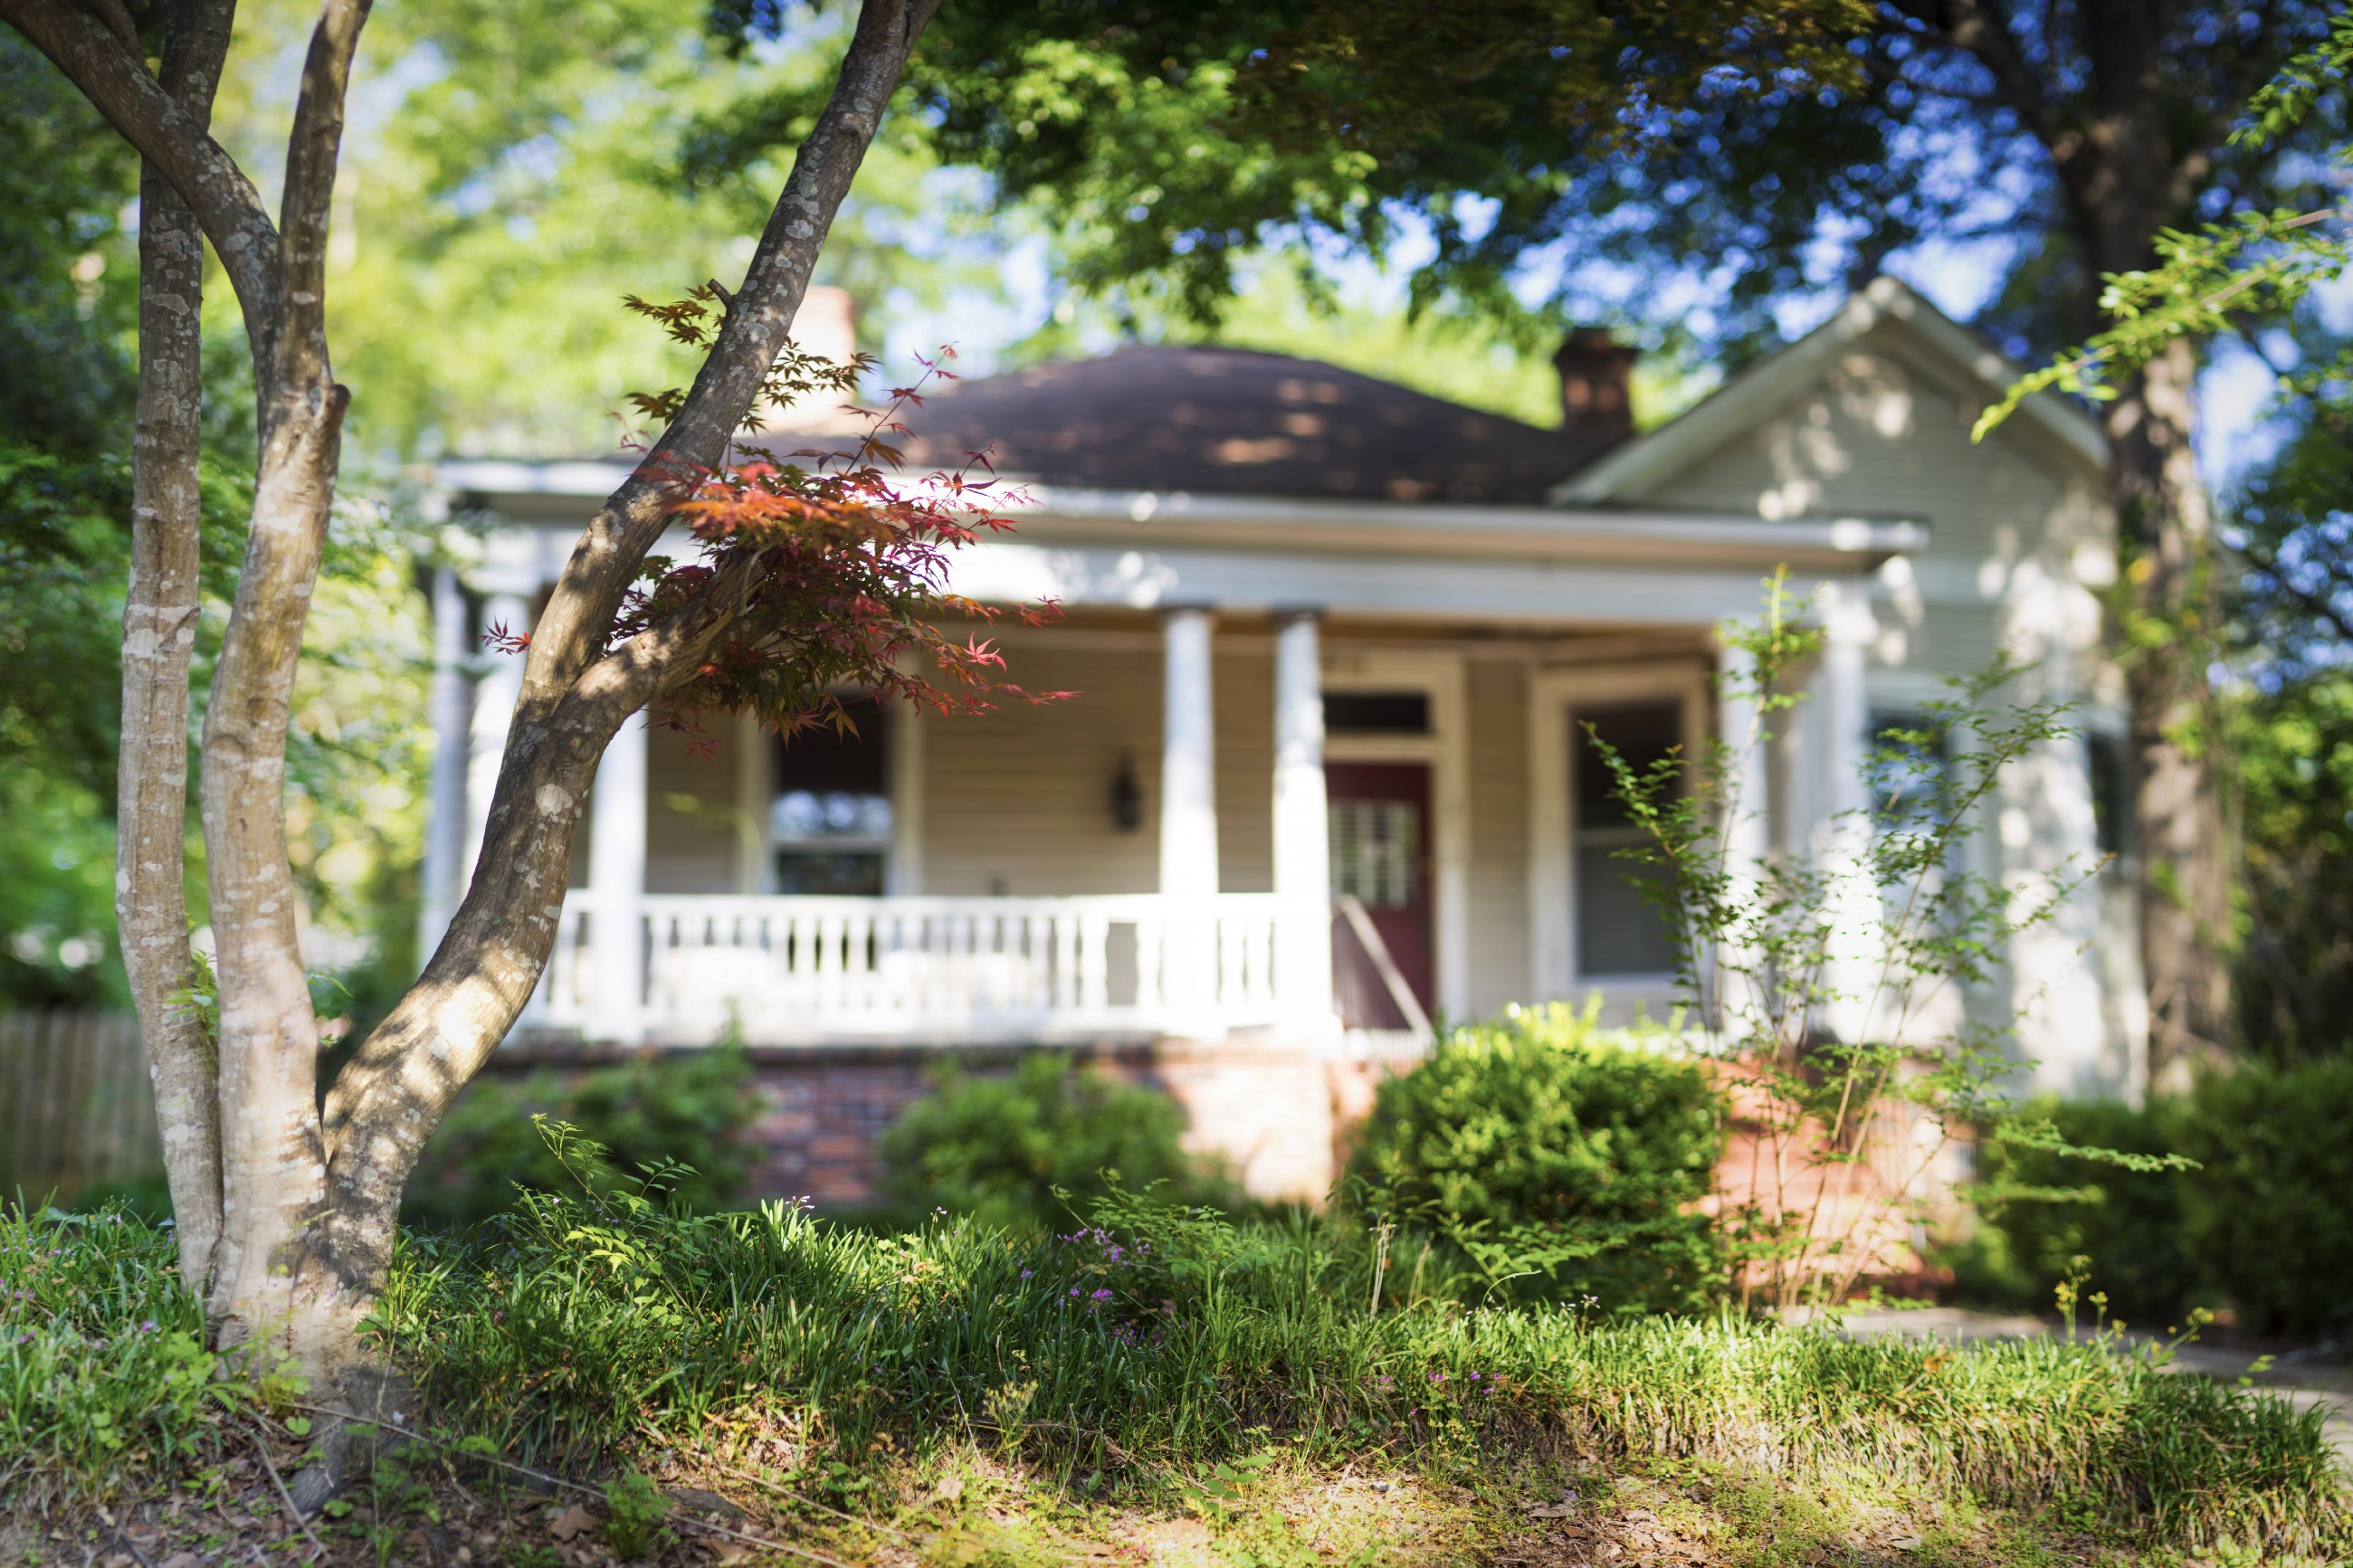
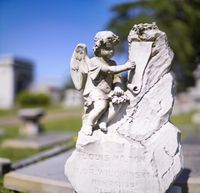
Next, one of my more successful attempts at this method. This image combines twelve photos and made It made Explore on Flickr.
I have a few observations based on my attempts.
Holding the camera in a portrait alignment seems to work better, as Edd suggests in his tutorial. Even though most of my final products are landscapes, it seems to be easier to get full coverage holding the camera as if you were taking a portrait. Envisioning the composition helps, too. I tend to try to over cover the area, since a bid of cropping is always needed anyway.
I set everything to manual when shooting photos for this method: aperture, focus, ISO, white balance, and shutter. Once you set these, all images need to use the same settings, or the resulting pano will look terrible. Edd mentions that is you're shooting in RAW, white balance can remain on “auto.” He’s probably correct, but I have better luck choosing a setting. Sometimes I have had coloration issues - especially in the sky.
Part of the issue with solid colors, like blue skies, depending on the natural vignetting of the lens. Often, banding will occur where the images are put together. Steven told me that he often fixes this issue in Photoshop, but another way to fix it is to avoid it in the first place.
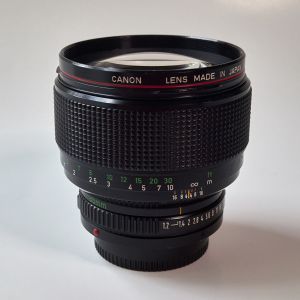
Speaking of lenses, Edd recommends a fast 85mm. In fact, he has a chart that shows various lenses and their effectiveness with this method. Notice that the 85/1.2 is at the top of the “sweet spot.” I found a vintage Canon FD 85/1.2 L on eBay that suits my purposes. Since it is a manual-focus lens and over thirty-years-old, it’s more affordable than it's auto-focus EF descendant. It's definitely lighter and smaller, and according to Ken Rockwell, it might even be better. It’s definitely better for me, and looks pretty bad-ass on my Sony A7R. I got a Hoya ND8 filter and a large Micro Lens pouch, and this badboy has become an integral part of the camera bag.
Coupled with the Sony A7R, this system works very well. However, I’m considering picking up a second body just for shooting these panos - probably a Sony A7S. Two things make this idea attractive:
- It’s 12 megapixels (rather than 36), and stitching these smaller images together will be much easier and faster.
- It’s sensor apparently shoots very well in low-light. While I’m not adverse to using the Rotolight Neos with this process, shooting with available light is very attractive. This is not to say that the A7R doesn’t do damn well in low light situations, but just having a second body has another distinct advantage.
- It’s a second body: therefore I can leave it set to manual full-time for this purpose. My Sony A7R can be for single-shot uses, and I can finally put another lens back on it, like my precious VL Nokton 40/1.4 or my new Leica Summicron-M. Then, I can use the auto features of the A7R and not have to switch back and forth which gets tiresome after a while. Not only does this get tedious, sometimes I forget and having any auto settings turned on can ruin a bokeh panorama.
I have had mixed results with software, too. Since I already own Photoshop, I tried this first. When PS works, it works well, but it often doesn’t. Edd recommended AutoStitch, which is simple and does a great stitching job, but, to me, leaves the colors a bit faded and lifeless. I can generally resurrect them with a bit more processing in PS or Capture One, but the final image doesn't looks as good as those in PS. I have tried the demo of Autopano, and it seems like it combines the excellent stitching of AutoStitch and the color processing of PS. However, it’s ~$100. I’m not sure what I’m going to do about this since I’m not sure Autopano is $100 better than the alternatives.
These are my observations so far about the Brenizer Method. I’m definitely enjoying it, and I plan to continue to develop my proficiency. I think it adds a bit of omph to my photography, and if I don’t tell anyone about the method, they just looks like cool photos.
